Oven Construction
Hobby Shop Powder Coating Guide
| Booth Construction | Oven Construction |

NOTICE: PLEASE READ
The
fabrication of an oven could present a potentially dangerous or lethal
hazard. Installation and wiring of electrical components requires
specialized knowledge of electrical codes. Anyone considering the
construction of an oven should first consult with a
qualified electrician. I am neither an electrician or engineer, nor do
I represent myself as either. This design is NOT MINE and based solely on
information gathered from other various websites. If you choose
to use any or all information based on this site, you do so
|
Oven Construction
 |
 |
 |
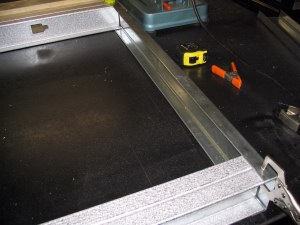 |
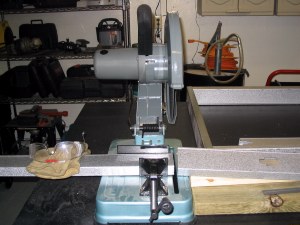
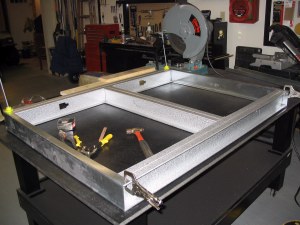
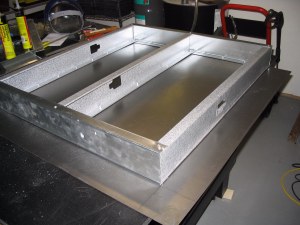
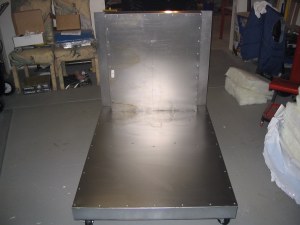
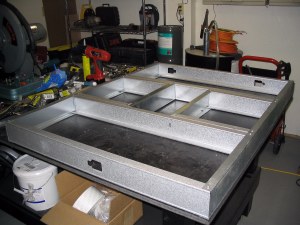
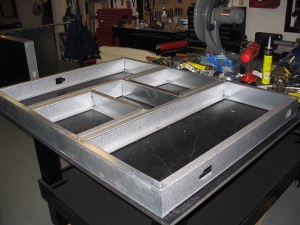
3' x 4' Bottom frame made from metal building studs and tracks purchased from McMaster-Carr. http://www.mcmaster.com/
|
Metal studs were doubled on the bottom section for additional support.
|
 |
 |
 |
 |
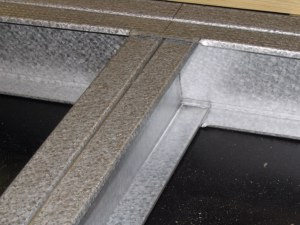
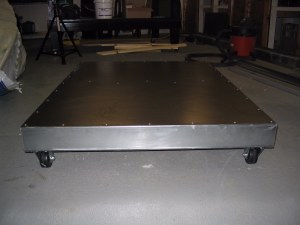
Frame for bottom section after squaring.
|
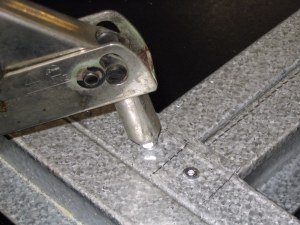
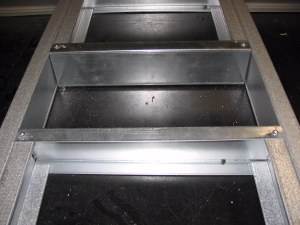
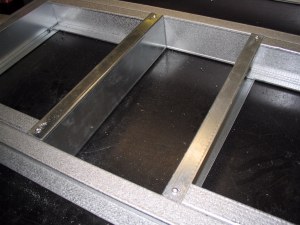
All construction is done with pop rivets.
|
 |
 |
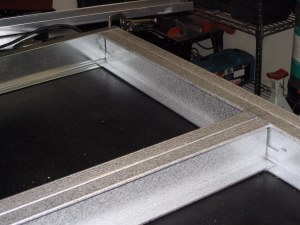
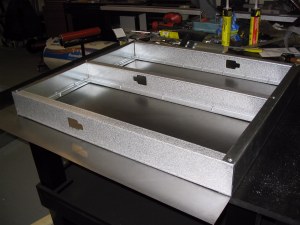
Bottom panel with sheet metal attached.
Purchased 12- 36" x 48" 22 guage cold-rolled sheet metal panels from J C Whitney
|
Link for sheet metal panels:
|
 |
 |
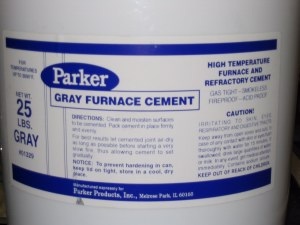
Furnance cement used to seal panels.
|
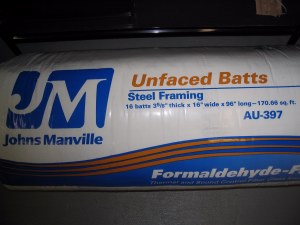
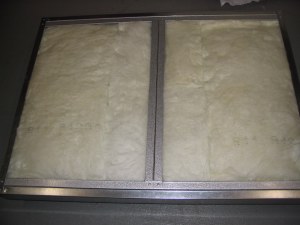
3 5/8" Unfaced steel framing insulation.
|
 |
 |
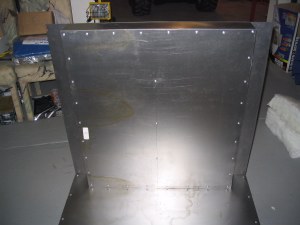
End panel showing 3 5/8" overhang on 3 sides for attaching to the bottom and 2 side panels.
|
Another
view of an end panel showing the panel flush with the top edge.
This will be a top loading oven with the door on top.
|
 |
 |
End panel filled with insulation.
|
End panel side view.
|
 |
 |
Completed end panel showing the inside.
|
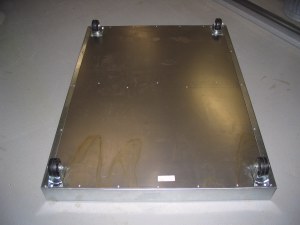
Bottom panel with casters attached.
|
 |
 |
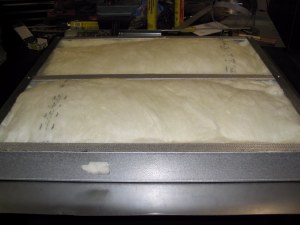
Bottom panel filled with insulation.
|
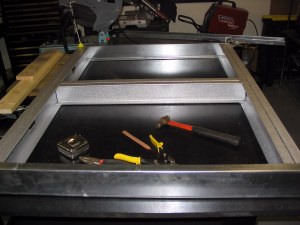
View of completed bottom.
|
 |
 |
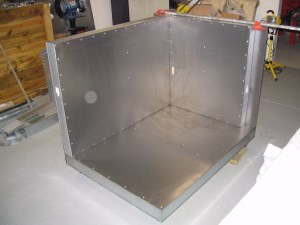
End attached to bottom panel with rivets.
|
Closer view of attached end panel.
|
 |
 |
Inside view of side and end panels
|
Outside view of side and end panels
|
 |
 |
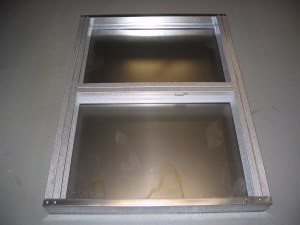
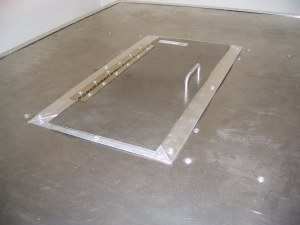
Top door frame showing window opening
|
Top door frame
|
 |
 |
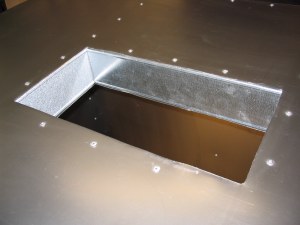
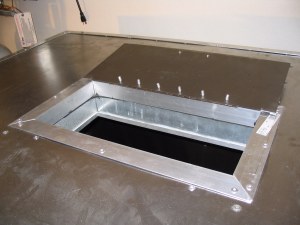
Window opening on top door panel.
|
Window opening on top door panel.
|
 |
 |
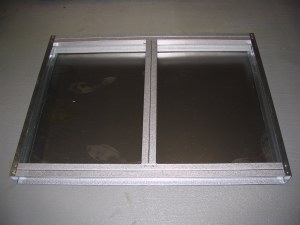
Finished window opening. The glass will we be held in place by an aluminum angle channel and hi-temp sealant.
|
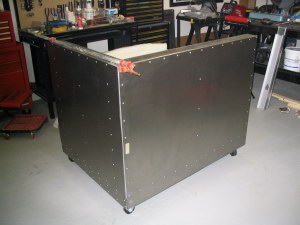
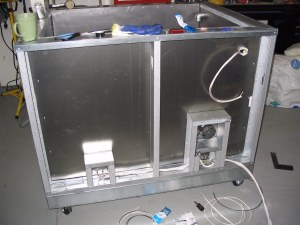
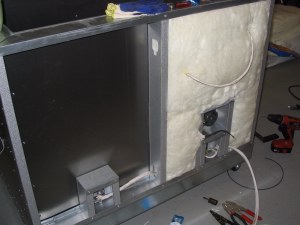
Completed
oven with front panel off. The front panel will house the heating
elements, the temperature control switch, wiring, oven light and
electronic digital thermometer.
|
 |
 |
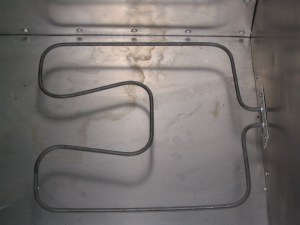
Installation of heating elements on front panel.
|
2 1/2"w x 1 1/8"h opening for heating element installation.
|
 |
 |
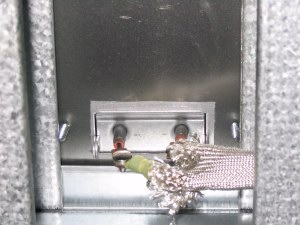
Heating element in place.
|
Element terminals on inside of panel.
|
 |
 |
Inside view of oven showing light socket and heating elements installed.
|
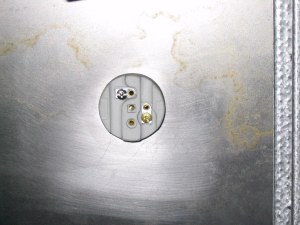
Keyless porcelain light socket purchased at Lowes. 1 1/2" Hole
|
 |
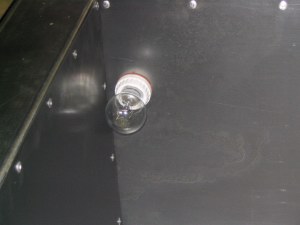 |
Back side of light socket on inside of panel
|
Completed light socket.
|
 |
 |
Inside view of front panel showing element terminals.
|
Heating element installed.
|
 |
 |
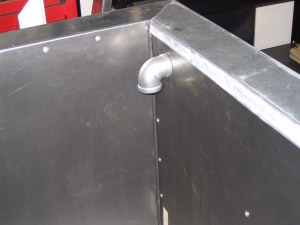
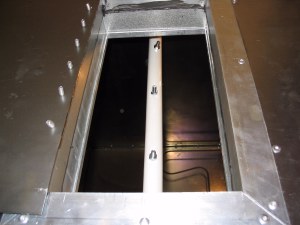
1" Galvanized piping used for vent. This will be plumbed to the outside for exhaust.
|
Hi-Temp sealant used on panel seams purchased from AutoZone.
|
 |
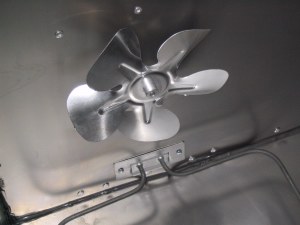 |
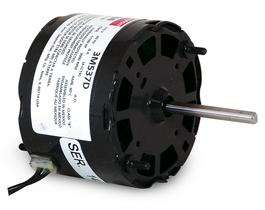
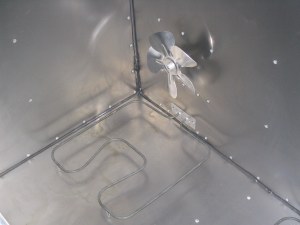
Fan used for even heat distribution.
|
Another View of fan.
|
 |
 |
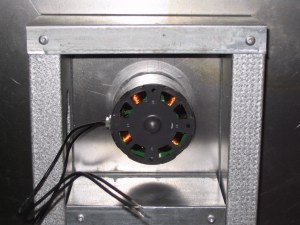
Mounted fan motor
|
Another view of mounted fan motor
|
 |
 |
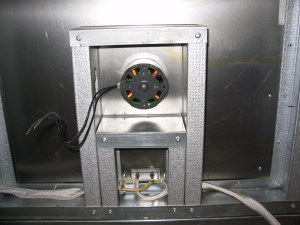
Inside view of front panel showing the heater element mountings, fan mounting and the light mounting.
|
Another view of the inside of the front panel.
|
 |
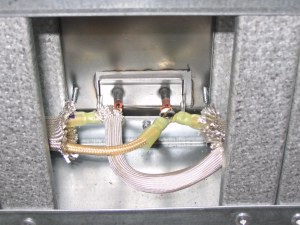 |
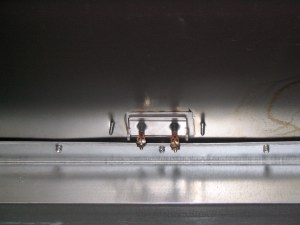
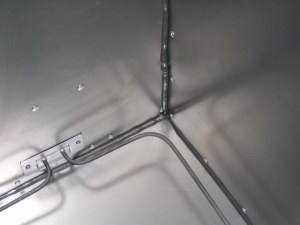
Left side element wiring
(A wiring diagram will be provided when completed)
|
Right side element wiring
(A wiring diagram will be provided when completed)
|
 |
 |
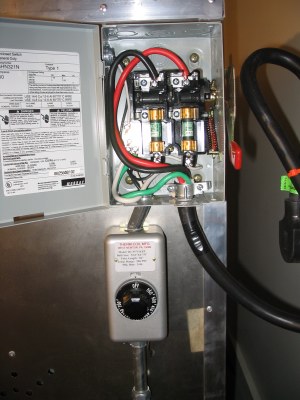
On
the left is a double gang box which will house the variable speed fan
switch and light switch. It is connected to a 30 amp fused service
disconnect box and at the bottom is the temperature control switch.
The dial ranges from 200 to 500 degrees and has a pilot light.
Also, if the load is 30 amps or less, this unit does not require the
use of a contactor. This complete unit will be mounted to the front
panel.
|
Placement of insulation to front panel in preparation to applying the outside skin.
|
 |
 |
Front panel with controls mounted
|
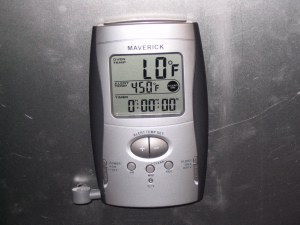
Closeup of digital thermometer
|
 |
 |
View showing top loading door.
|
Another open view.
|
 |
 |
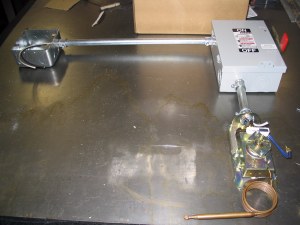
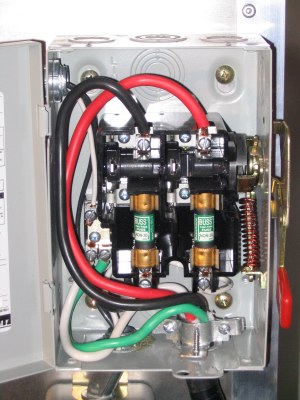
30
amp fused switch box. The red and black wire on top are both 110v hot
lines and are connected to the line terminals. The white wire is the
neutral and the green wire the ground. The two terminals on the bottom
are your hot load leads (110v ea.) and go to the temperature control
switch. The black (110v) and white (neutral) wire on the top left are
for the light and fan.
|
This
is the temperature control switch. The dial ranges from 220 to 550
degrees and is equipped with a pilot lamp. There are two 110v hot
wires going to the line terminals and two 110v hot wires leading from
the load terminals to the heating elements. This temperature
control switch does not require the use of a contactor as long as the
load is not over 30 amps.
|
 |
 |
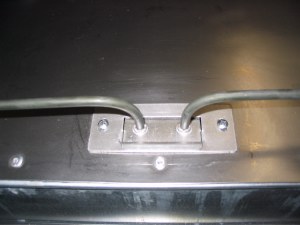
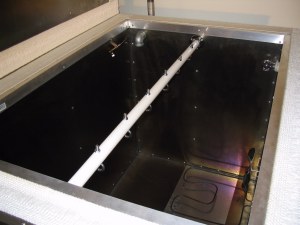
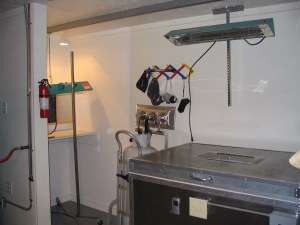
Removable hangar bar.
|
View of hanger bar from access panel.
|
 |
 |
Since
this is a top loading oven, I decided on an access panel in lieu of a
glass window. This enables me to use my infrared temperature gun
and not have to open the whole lid.
|
Another view of the access panel with the door open.
|
 |
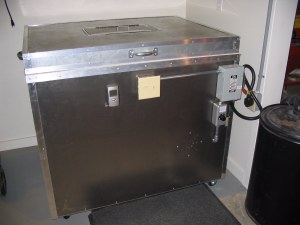 |
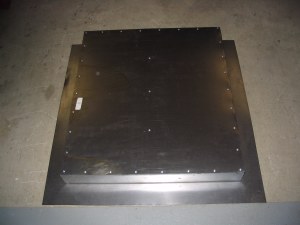
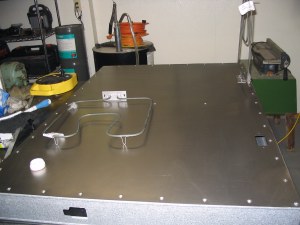
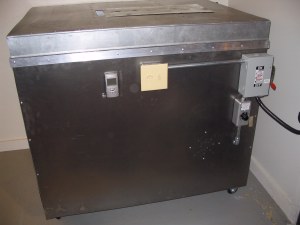
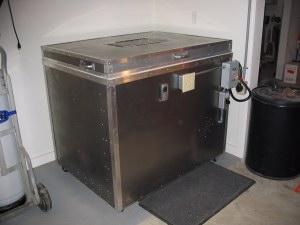
View of completed oven.
|
Another
view of the completed oven. Using the two 3100 watt heating elements, I
am drawing 28 amps and it takes approx. 20 minutes from a cold start to
reach 450 deg.
|
 |
 |
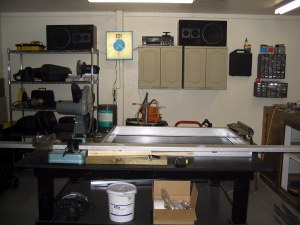
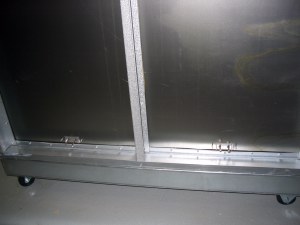
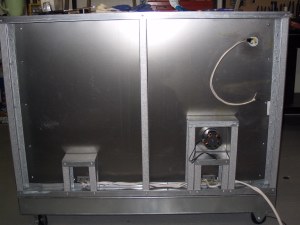
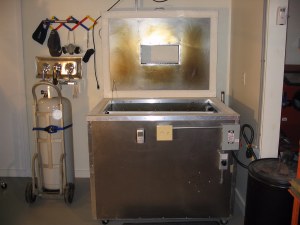
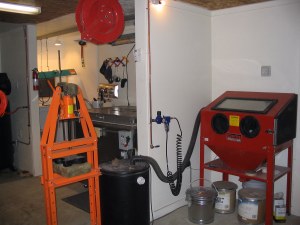
View of my PC area. The booth is 4 ft. x 12 ft. and stores all of my equipment when not in use.
|
Another
view of my PC area showing my ventilated booth. It stores my oven, a
1500w infrared lamp, a 2000 w infrared lamp and a Mr. Heater Triple
infrared mounted on a 100 gal. propane tank.
|
Materials from McMaster-Carr
|
||||||||||||||||||||||||||||||||||||||||||||||||||||||||||||||||||||||||||||||||||||||||||||
Materials from JC Whitney
Item ZX200079P Flat Sheet Metal - 36"W x 48"L
Quantity of 12 @ Total Price:$143.88
Merchandise Total: US $143.88
Shipping & Handling: US $19.99
Tax: US $0.00
Total: US $163.87
|
||||||||||||||||||||||||||||||||||||||||||||||||||||||||||||||||||||||||||||||||||||||||||||
Digital Thermometer
 122
°
-572
°
Timer
Maverick Digital Oven 37-OT-03 1 19.99
Thermometer OT-03
Subtotal
19.99
Coupon discount (red) -1.00
Subtotal 18.99
Shipping 8.31
Tax 0.00
Total 27.30
|
Heating Elements
http://www.emeraldelectronic.com/store/proddetail.cfm/ItemID/15481/CategoryID/2501/SubCatID/46/file.htm
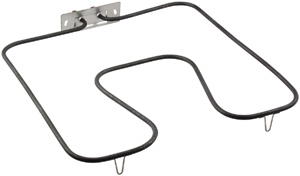 3100 Watts/240 Volts
|
|||||||||||||||||||||||||
Fan Motor
Fan Blade
Blade,Fan,8 In Dia
Axial
Flow Fan Blade, Diameter 8 Inches, Air Flow 400 CFM, Blade Type Hub,
Width 1 1/4 Inches, Dimension B 1/2 Inch, For Use with 1550 RPM
Standard Case Motor, Aluminum Cooling Fan CW
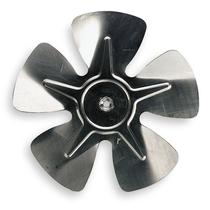 Grainger Item: 4C475
Your Price (ea): $7.12
Manufacturer: AIR DRIVE, INC.
Mfg. Model#: AD8CW23 1/4
|
||||||||||||||||||||||||||||